Showing posts with label french manicure. Show all posts

Tuesday, July 31, 2018

Summer Diagonal French

Hello Friends!
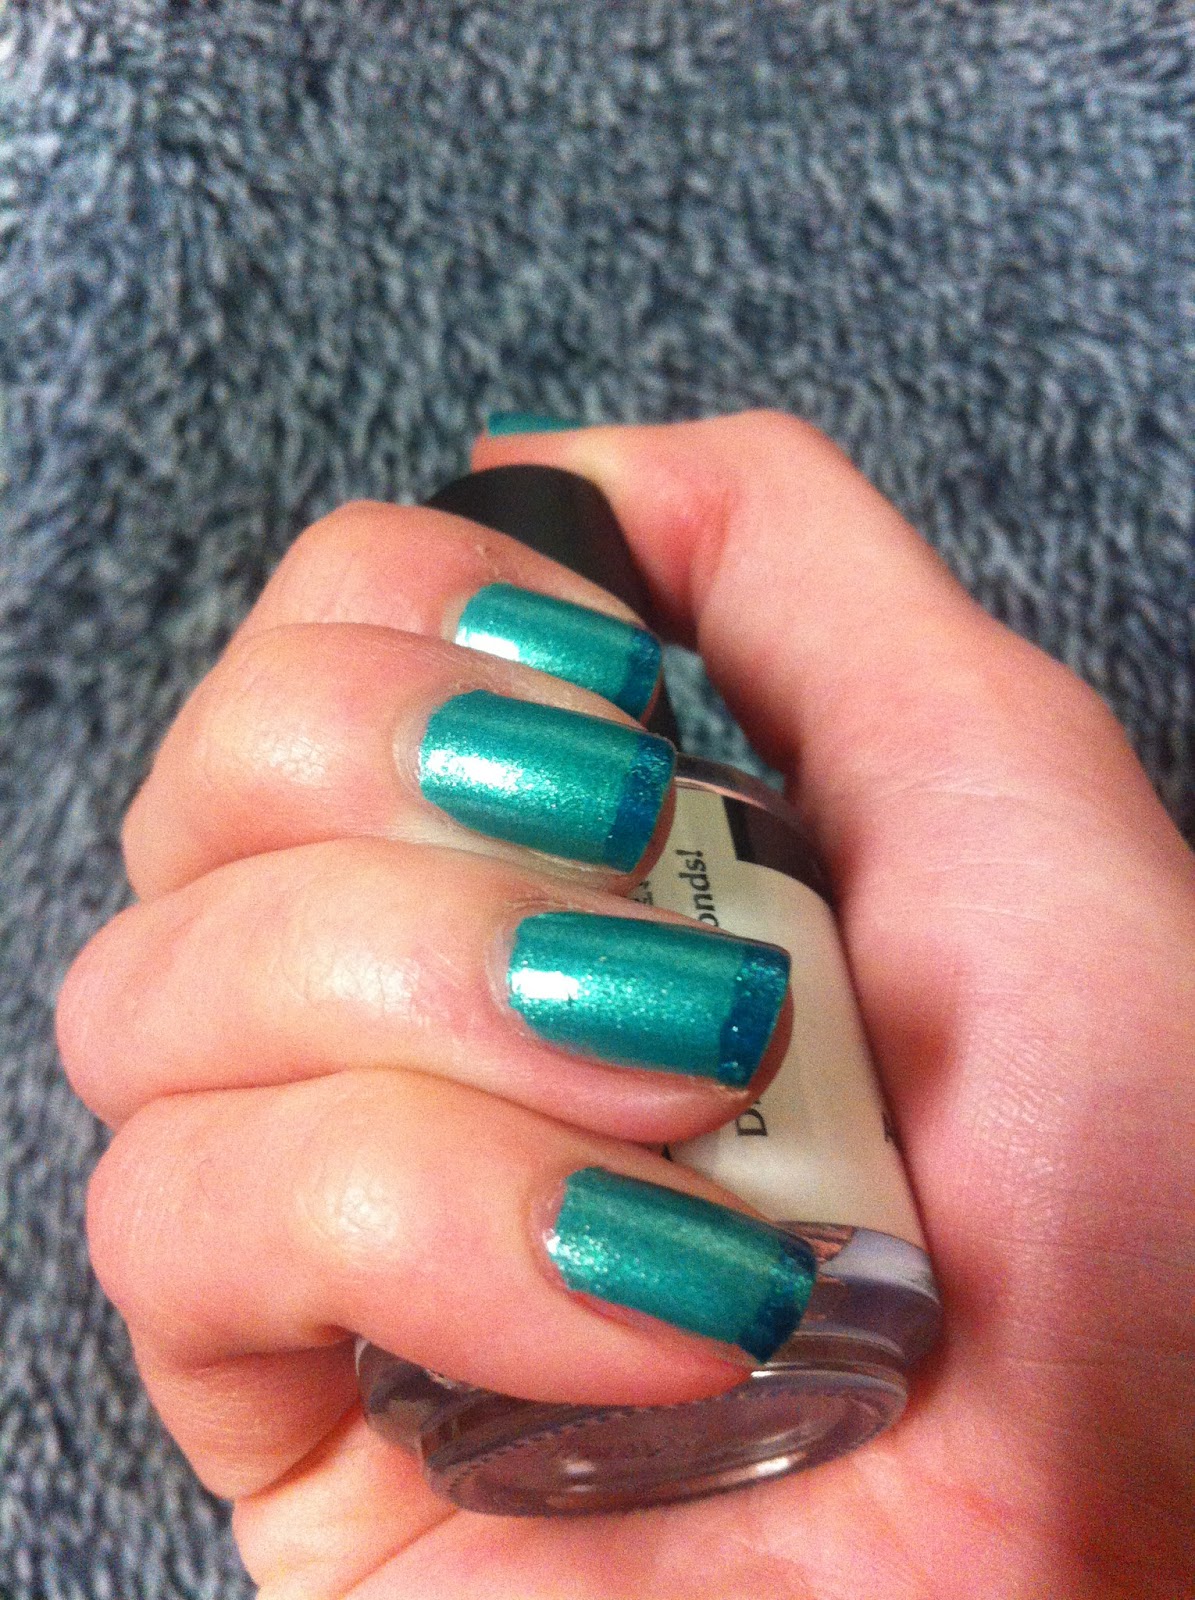
Summer is in full force where I live, so I decided to do some summery nails.  What better color to use than an aggressively bright pink?!  This design is inspired by Kelli Marissa on YouTube.  I thought it would be fun way to use a mega bright color without putting it all over my nail.


So for the base I used one coat of Essie Gel Couture in Fairy Tailor.  I took some striping tape and laid it diagonally across the tips of my nails, starting at the right corner.  Then I used one coat of China Glaze Flip Flop Fantasy below the tape.  I have now realized that I need to buy a new bottle of this one because mine is SUPER lumpy and old.  After that I pulled off the striping tape and finished it off with Seche Vite top coat to give it a nice glossy finish.

So that is my fun, bright summer diagonal french!  I love how this turned out! I'm going to have to do this type of mani with other colors in the future.  I hope y'all have a great weekend!
~Mary Elizabeth

Thursday, February 13, 2014

Valentine's Day Ideas

Hello there!
It's that time of year again  and I have some nail designs to share that you might like to try!  These are just fun, Valentine's Day themed nails that are simple and time friendly.  Hope you give them a shot!


 This first design is based on something I found on pinterest.  I used two coats of Zoya Mickey as a base color.  Then I used Essie Penny Talk for the french tips.  In the pinterest post they used tape to get the french tips, but I just kinda freehanded it.  This takes very little time if you have a steady hand.


This next design is my favorite of the two.  I used OPI Steady as She Rose as the base.  Then I used one of my dotting tools to plave two dots next to each other on the nail.  Then I dragged the dots together to a point in order to make the hearts.  For this I used OPI It's All Greek to Me.  Warning: I would wait a bit for the hearts to dry before applying top coat.  I smudged one of the hearts on my thumb because I used top coat too soon.  I love how cute and simple this one is.

I hope you get a chance to try one or both of these out for Valentine's Day!  If you do, I would love to see a picture of your take in the comments.  Have a terrific Thursday!

~ Mary Elizabeth

Wednesday, May 22, 2013

First Try: Feather Freehand

Hello lovelies!
Today's post is another installment of my ongoing first try series.  I saw a design similar to this on pinterest and thought I would give it a shot.  I tried this feather design on two different nail looks.  The polishes I used are all Kiss nail art polishes in black, white, and silver glitter.  This is how it turned out!

 The first time I tried the feather on was a french manicure I was already sporting.  I used OPI Barre My Soul as the base color.  For the french I used OPI Alpine Snow.  I topped it off with OPI Happy Anniversery.  This added a slight shimmer and kinda cleaned up the edges of the french and places that I didn't get as crisp of a line as I would like.  This feather was my first attempt, and it didn't turn out quite as clean as I had planned.  But hey, not bad for the first shot!


This second look is a little more simple.  I used Pretty Please Preppy Pink as my base color.  The picture shows this as a much paler pink than it really is.  I was able to get a much prettier feather this time.  I feel like this looks really classy and spring appropriate.  
I hope y'all enjoyed this post, and I hope that this inspires you to try new things out yourself!  Have a lovely day!
~ Mary Elizabeth Curl
 I consider that our present sufferings are not worth comparing with the glory that will be revealed in us. Romans 8:18

Saturday, April 27, 2013

Seaside French Tips

Hey There!
So today's mani is a fun, marine inspired french manicure.  I was going through my polishes and realized I hadn't used these ones in a while.  I figured this would be the perfect way to incorporate these colors.  Enjoy!


I started off with a base of Zoya Zuza.  This is a pretty marine green/teal color.  I don't know why I don't reach for this more often, cuz it's gorgeous!  The texture is great, and it is very easy to apply.  For the tips I used Zoya Charla.  I included this one in an earlier post a while back.  It is a beautiful teal color with green/gold shimmer.  I just kind of freehanded the french (I didn't use tape or anything).  I like how this mani is simple but has some subtle flair :)
I hope y'all enjoyed this post, and I hope you have a super Saturday!
~Mary Elizabeth
PS be sure to go check out my roommate's new blog, Polish and Prayers!

Monday, January 7, 2013

Christmas Nails

Hello There!
So today I decided to share with you the two nail designs I did for Christmas! I love just about any holiday that has theme colors because I can do things like this.  I hope this gets you back into the Christmas spirit :)
 This nail design is the more complicated of the two.  For the base color I used Essie Clutch Me if you Can Zoya Frida on the ring finger.  I like Clutch Me if you Can rather than a stark red because it looks better on my skin tone.  Reds usually tend to wash me out, so I tend to go for a darker, more burgundy shade.  For the tips I used OPI Goldeneye from the James Bond collection.  This one is a little thin and flaky, so it took two coats to get the tips solid.  For the stripes I used my Kiss nail art polish in gold.  I topped it off with Sally Hansen Insta-dri top coat.

For this look I started with a base of OPI Care to Danse.  I always use sheer polishes like this one for french manicures.  I used Sally Hansen Diamond Strength in Honeymoon Red for the tips.  This is the exception to my no red rule.  For the glitter fade I used OPI Getting Miss Piggy With It.  This made a great glitter fade, oddly enough.  I thought the red would look weird on my nails, but it actually looked fantastic.  So there's my holiday nail fun!  I hope you enjoyed it, and have a wonderful week!
~ Mary Elizabeth

Sunday, November 11, 2012

Green and Gold Freehand

Hey guys!
Today's post is a look that I did a few weeks back that I thought I would share with y'all.  I wanted to try out a gold nail art pen that I got at Francesca's (the same as the black one I talked about in my last post).  I hope you like what I came up with!
First of all, let me apologize about my broken pointer finger nail.  It broke not long before I did this mani, but it's back to normal now.  Anyway, I started with a base of OPI Here Today, Argon Tomorrow.  This is a nice dark green creme.  It takes about three coats to get a solid color.  Then, as I mentioned before, I used a nail art pen in gold for the stripes and stuff.  It is pretty difficult to get a straight line because you have to squeeze the tube and draw the line at the same time.  With that said, I really like how it turned out.  I topped it off with CND Air Dry top coat.  I hope y'all enjoyed this, and I hope you will try this out yourself!  Have a marvelous Monday!
~ Mary Elizabeth

Wednesday, May 9, 2012

Pink Wednesday: Frosty French

Hey everybody!
So today is Wednesday, and you know what that means: Pink time!  Today's post is another funky french, only this time it is a little more subtle than the last one.  These types of designs are growing on me :)

I started with OPI Pedal Faster, Suzi as a base color.  Then I used OPI Japanese Rose Garden for the french tips.  For the ring fingers I just dragged the brush diagonally across my nail to change up the design a little.  Then I used my kiss silver glitter to clean up the mistakes.  Then I finished up with Seche Vite top coat.  I hoped y'all liked this post, and have a fantastic rest of your week!  Also good luck to those of you who are AP testing this week and next!
~ Mary Elizabeth

Wednesday, April 11, 2012

Pink Wednesday: funky French

Good morning!
Just a warning: I am posting this from my phone, so the quality may not be as good as usual. Anyway, I have decided to be a part of pink Wednesday. For those of you who don't know, the idea is that on Wednesdays I will wear pink nail polish and do a blog post of it. Now, I can't guarantee I will do this every Wednesday, but I will try! So for my first attempt at this, I started with OPI "strawberry margerita". Usually I would use two coats, but I just used one this time. For the tips I used Essie "braziliant". I didn't do this, but I would recommend using tape for this step to get a straight line if you don't have a steady hand. I probably should have used tape, but I like my French manicures to have a little bit of curve. Finally, I used Seche vite top coat.
So I hope you enjoyed this, and I hope you will join me in pink Wednesday! If you do, I would love to see a picture of it! Have a wonderful Wednesday!
~ Mary Elizabeth

Monday, April 9, 2012

PROM!!

Hello lovelies!
I hope you all had a wonderful Easter weekend.  For me this weekend was not only Easter, but PROM TOO!  No, I did not have a date, but that's ok.  I had a fabulous time with my friends.  I thought I would post what I did with my hair, makeup, and nails.
Me and my friend Bianca :)

 I hope you can see my hair ok.  My best friend Maddi did my hair for me.  She used a one inch curling iron and curled it all to the right.  Then she put most of the hair in a side ponytail.  She left several pieces out so that it didn't look too much like a ponytail.  For my makeup I used a simple foundation and powder.  nothing crazy, but it stayed on all night!  On my eyes I used white glitter on the inner corner, grey in the crease, and a soft black in the outer corner.  I winged my eyeliner and used the same black shadow to smoke it out.  I used a waterproof mascara so that it didn't slide around.  On my cheeks I used MAC Dame blush.  Finally, I used a coral lipstick. 
Now for the nails, I used Essie Ballet Slippers as a base.  For the tips I used Sally Hansen Celeb City.  This is one of my favorite silvers.  Definitely a one coater.  For the black line I used a Kiss nail art polish.  Then I used Sinful Colors Black on Black and Bundle monster plate bm14.  This went really well with my black dress.  And of course I finished with Seche Vite.  I hope y'all enjoyed getting a glimpse at my prom, and I hope you got an idea for your prom too! I hope you have a terrific Tuesday!
~ Mary Elizabeth

Monday, January 16, 2012

A Cool Twist on a French Manicure

Hey guys!
Yesterday I decided to do a french manicure on my nails.  However, I really wanted to try my new nail polish, "Fly" by OPI.  So I decided to use "Fly" in my french!
Unfortunately I messed up a little on the black :(

So this is how I did it: I used my usual base coat (OPI natural base coat), and when that dried I used one coat of OPI's Moon Over Mumbai all over my nails.  This gives the same kind of effect as using a light pink over a regular french manicure, but it looks better with the blue and doesn't fade the color.  Then I used OPI Fly for the initial tips.  This color is gorgeous, but it takes two coats to look really solid.  Next I used a thin line of Kiss black art polish to make it look a little more finished.  Finally I put a top coat on top. 
     I hope you guys like this design! Feel free to comment with ways you would rather me present these that would be more helpful to you!  Thanks for reading!

~ Mary Elizabeth
"There could never be a more beautiful you!" - Jonny Diaz